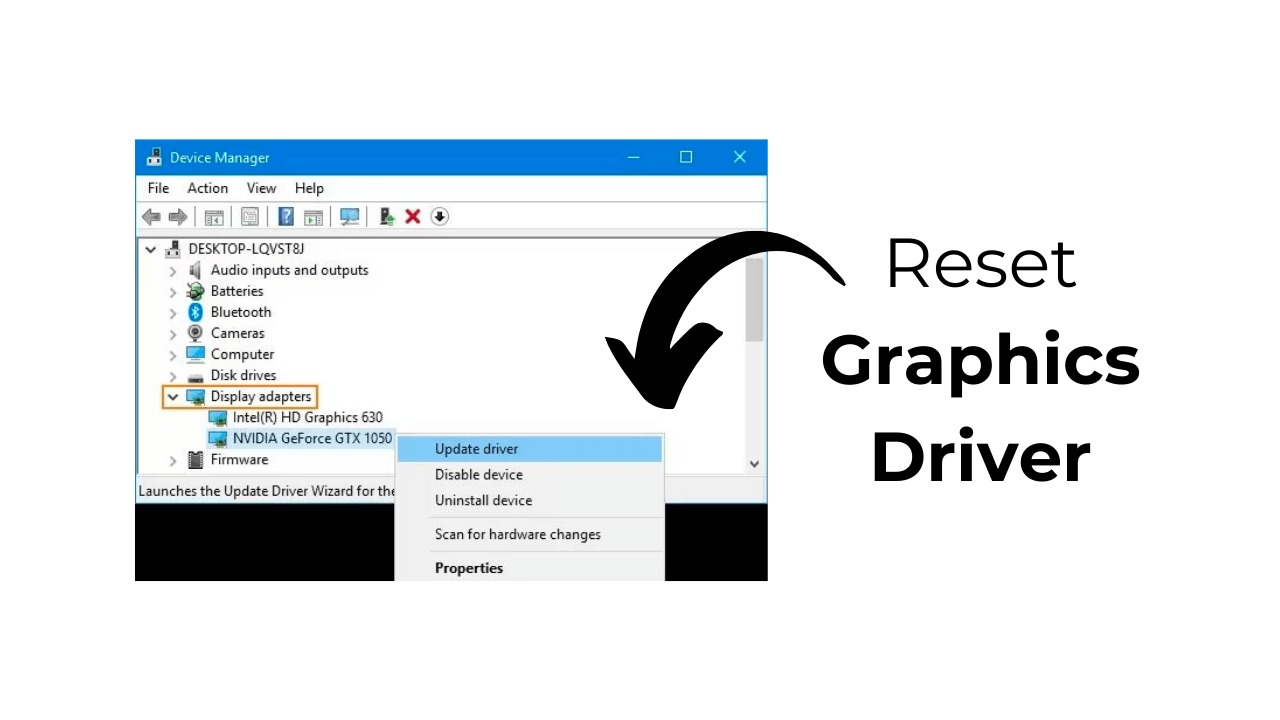
Computer problems such as screen flickering, blank screen, pixel problem or any other issues related to graphics can be related to an error in your graphic driver. So let’s see how to reset the graphics driver Windows 11 to fix it.
Furthermore, it will be helpful for you as it will improve the speed of operations on display and for smooth gaming. Visually your display will be better and you will enjoy using your PC again.
What Is Graphics Driver On Windows?
A graphic driver is a hardware in your PC that operates a graphic system allowing it to provide smooth display graphics. Controls the speed of the screen and helps in providing images, videos, or whatever you see on screen. A PC screen can’t work without a graphic driver so it is inserted in all computers.
Similarly, this software cannot be uninstalled otherwise it will lead to a blank black screen. So you will not be able to control your PC without a view. However, it can be refreshed by resetting to get rid of most of the visual errors on your device’s screen.

When Can You Reset the Graphics Driver On Windows 11?
Some conditions may require resetting the graphic driver. However, not all the display problems can be solved by fixing this driver so let’s see in what conditions you can reset it.
Screen Glitches
If your screen is flickering or having glitches then you will need to reset your graphic driver. Blacking out of the screen and other graphical issues can also be resolved by doing it so you should consider it. Furthermore doing it cannot harm your computer in any way.
Compatibility Problems
Running videos or programs on a PC must require a smooth display. Similarly, it is necessary to have updated graphics to run games or heavy programs. You may face difficulty in controlling the view while using these programs.
Therefore you can reset the graphics driver to enhance the compatibility of your device while running heavy programs as well.
Updated Windows
Updating windows might also cause screen flickering or glitches. This may happen because of an error in the graphic driver so fixing it should solve this problem. Therefore if you have recently updated your windows and facing display problems then consider checking your graphic driver first before doing anything else.
How to Reset Graphics Driver On Windows 11
There are three easy ways to fix your Windows 11’s graphics driver so here is a step-by-step guide to all of them.
Reset Using Keyboard
All the shortcuts to solving the problems can be found on the keyboard. Similarly, you can even reset the driver of graphics on your PC by just pressing three keys. Press Win+ Ctrl+ Shift+ B. This will quickly refresh and enhance your screen view and speed.
Doing this won’t harm your computer system in any way so you can do it without any doubt. However, this keyboard shortcut might not work if you are playing games.
Resetting Driver from Device Manager
If the keyboard shortcut turns out not to be effective for your device then you can directly refresh it from the device manager. This option is available on every PC including Windows 11 so you can easily find it. Follow the steps below to try this skillful technique and get rid of graphical issues on your monitor.
- Search for the device manager and open it. (You can also find it on the device’s menu)
- Now go to the display adapters option.
- Click on the graphic driver’s right-side menu to display its properties.
- Go to the driver tab and choose the disable device option.
- Permit to continue disabling operation.
- Now that your driver is disabled, go back to the graphics driver and open properties.
- You will see the enable device button, click on it, and continue by confirming.
- Wait for a while and your graphics driver will be reset. Doing this will end all the errors in the graphics and make it smoother.
Resetting Driver by Uninstalling and Reinstalling
- Open the device manager and go to the graphics driver.
- Now right-click on it to get an option to uninstall the device.
- Confirm and continue the action so the driver will be deleted.
- Now reboot your PC and then it will automatically show options for installing the graphics driver.
- Download it and wait for a while. Hopefully, you will be able to resolve all your graphics issues by reinstalling the driver.
Bottom Line
The above-given step-by-step guide will help you fix your graphic errors to operate your PC smoothly. It will not only enhance the pixels but also the speed of action and pointer. So you can skillfully get rid of these small PC errors.


